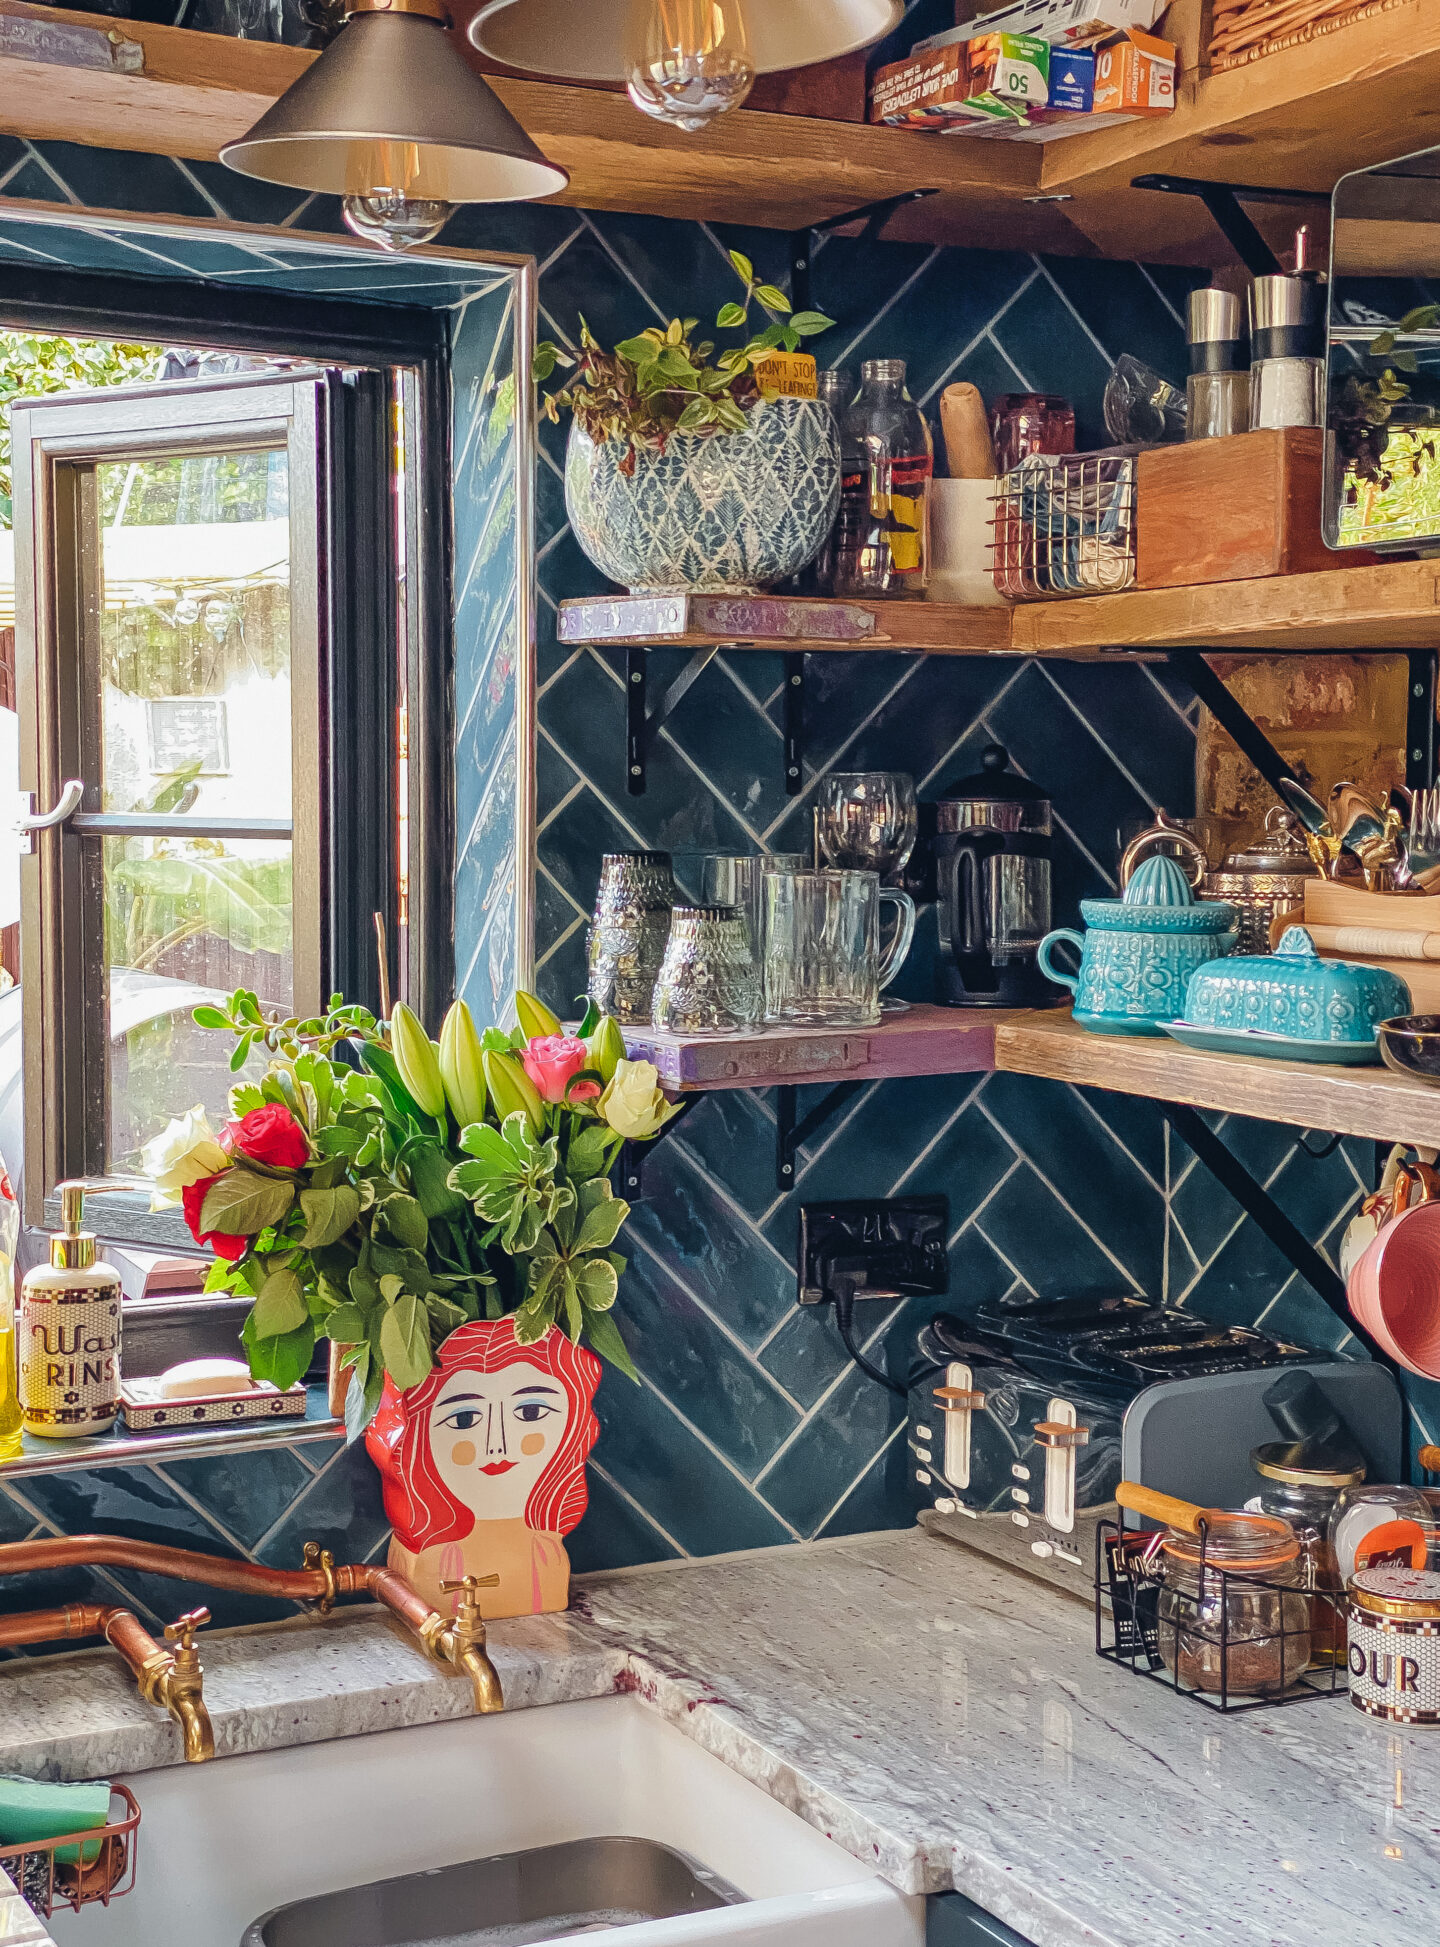
Is your home desperate for a spruce up but you’re lacking the funds to do it? Maybe you should consider taking a do-it-yourself approach which would help you enhance your home for a fraction of the price that a builder or decorator would charge.
Before going ahead with your renovation, you need to make sure that you have the right tools and knowledge to ensure the job is done properly, or you could end up spending a lot more on repairs and new materials.
Take a look at these tips which will help you renovate like a professional for a much smaller cost.
Get inspired
Before decorating, it is very important that you have a clear idea worked out of what you want. You may have already pictured exactly what you want your home to look like or have no clue whatsoever. If you fall into the latter category, then you should consider taking a look at existing designs which will give you the inspiration you require.
To make sure your renovation looks professional, you should take a look at luxury properties like those available at RW Invest, which feature minimal but stylish designs that can easily be achieved with a DIY-approach. You could also consider getting inspiration from a home interior magazine, or you may even like the look of your friend’s new living room decor, although try to add your own spin to it to make it more original.
Preparation is key
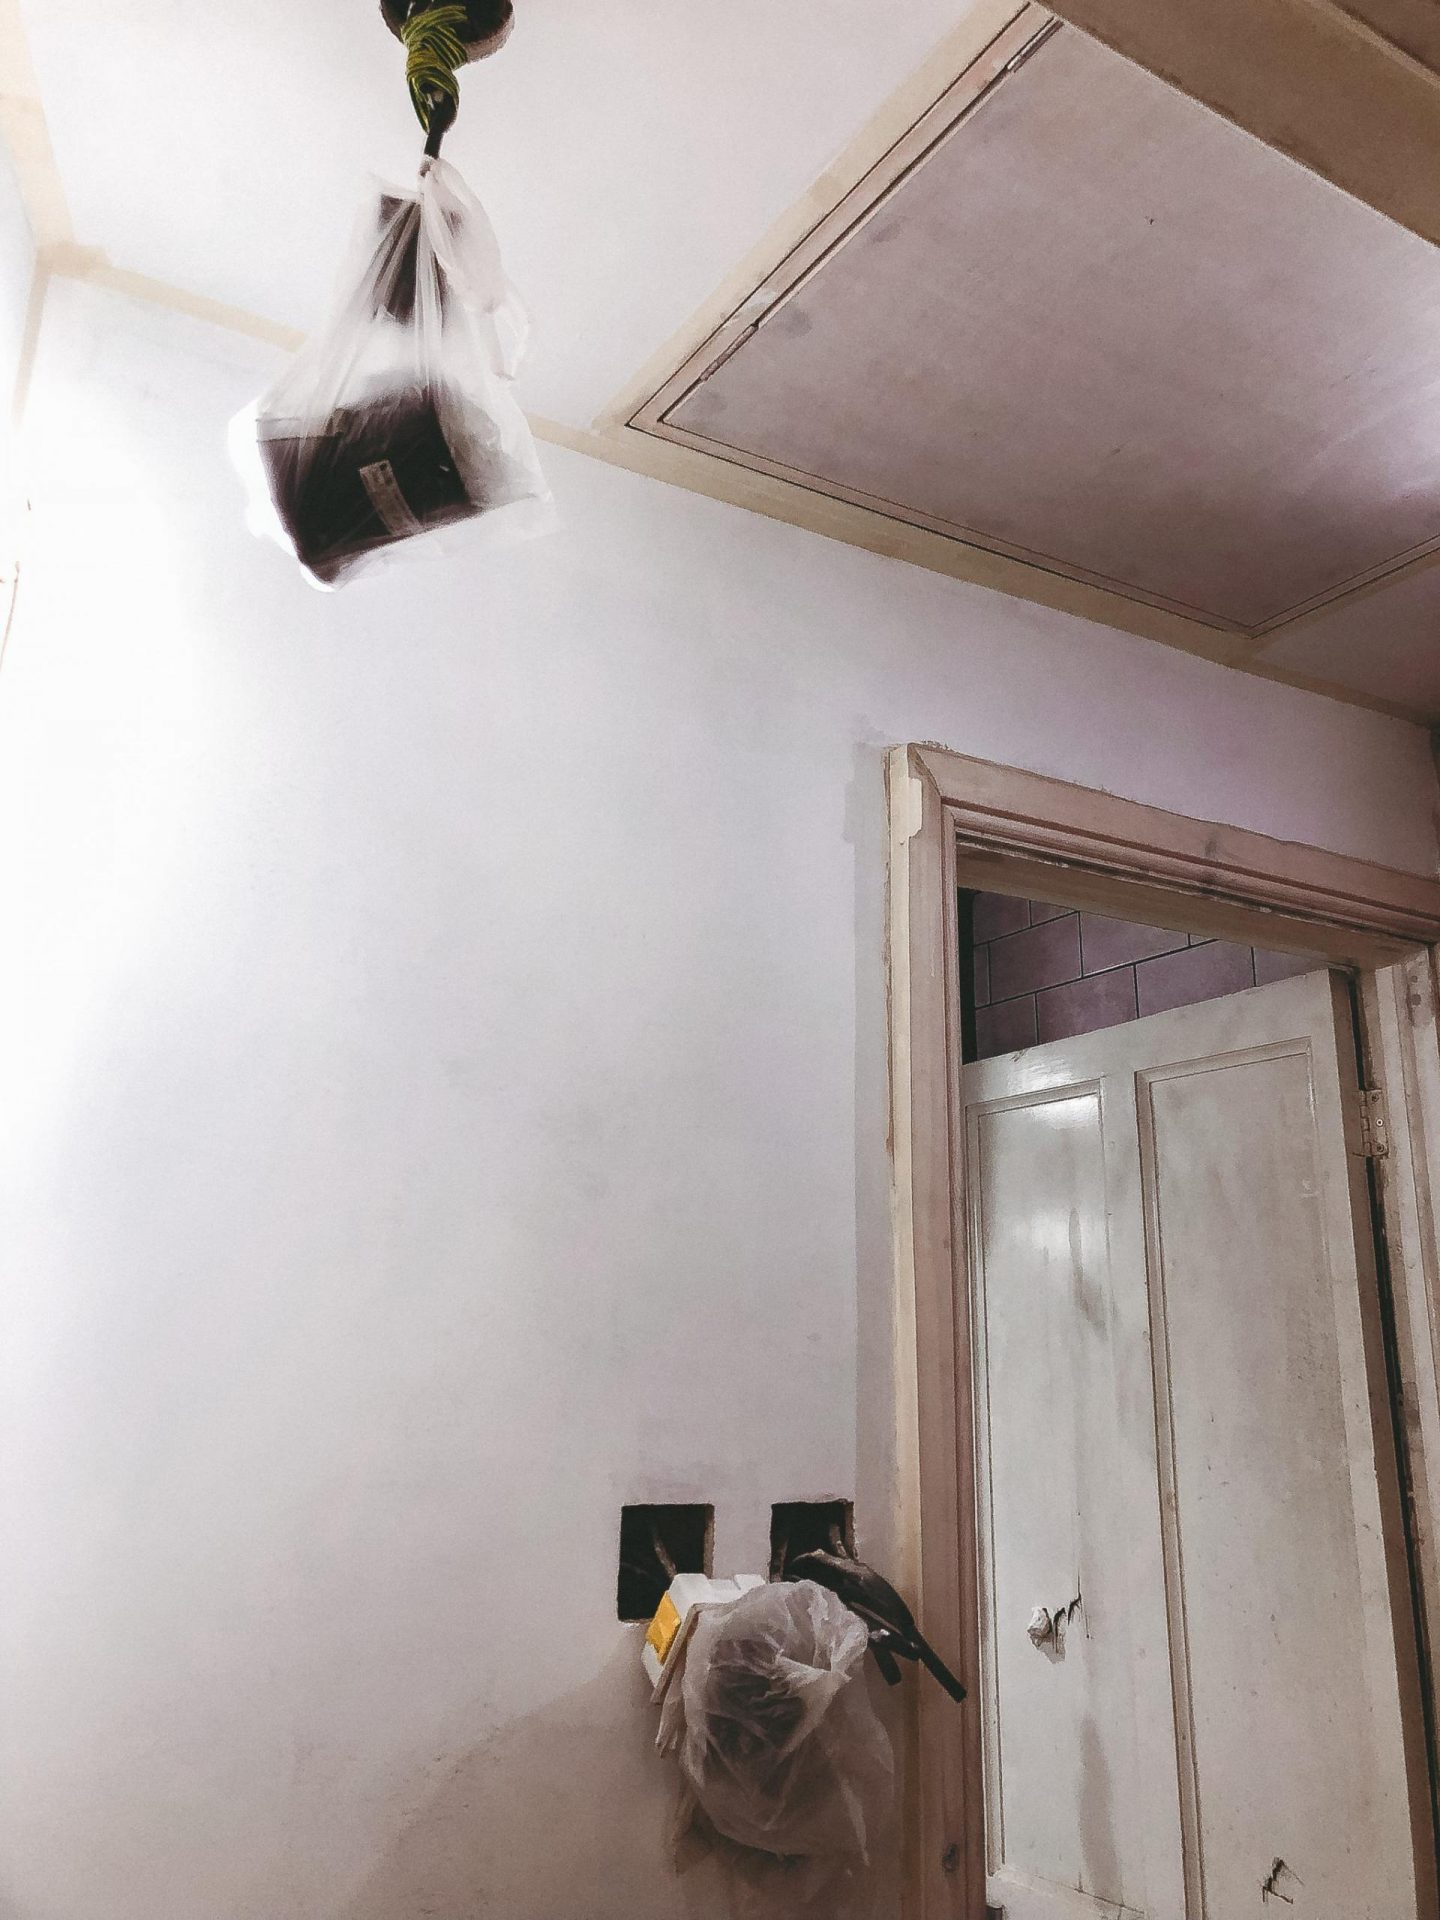
Preparation is one of the most important things you need to do before making any decor changes, as this will ensure that your renovation is durable. You should start by clearing everything out of the room you intend to decorate, as this will protect any items you wish to keep. You should also throw out or donate anything you don’t need, as this will make your home look smart and sleek when it is all finished.
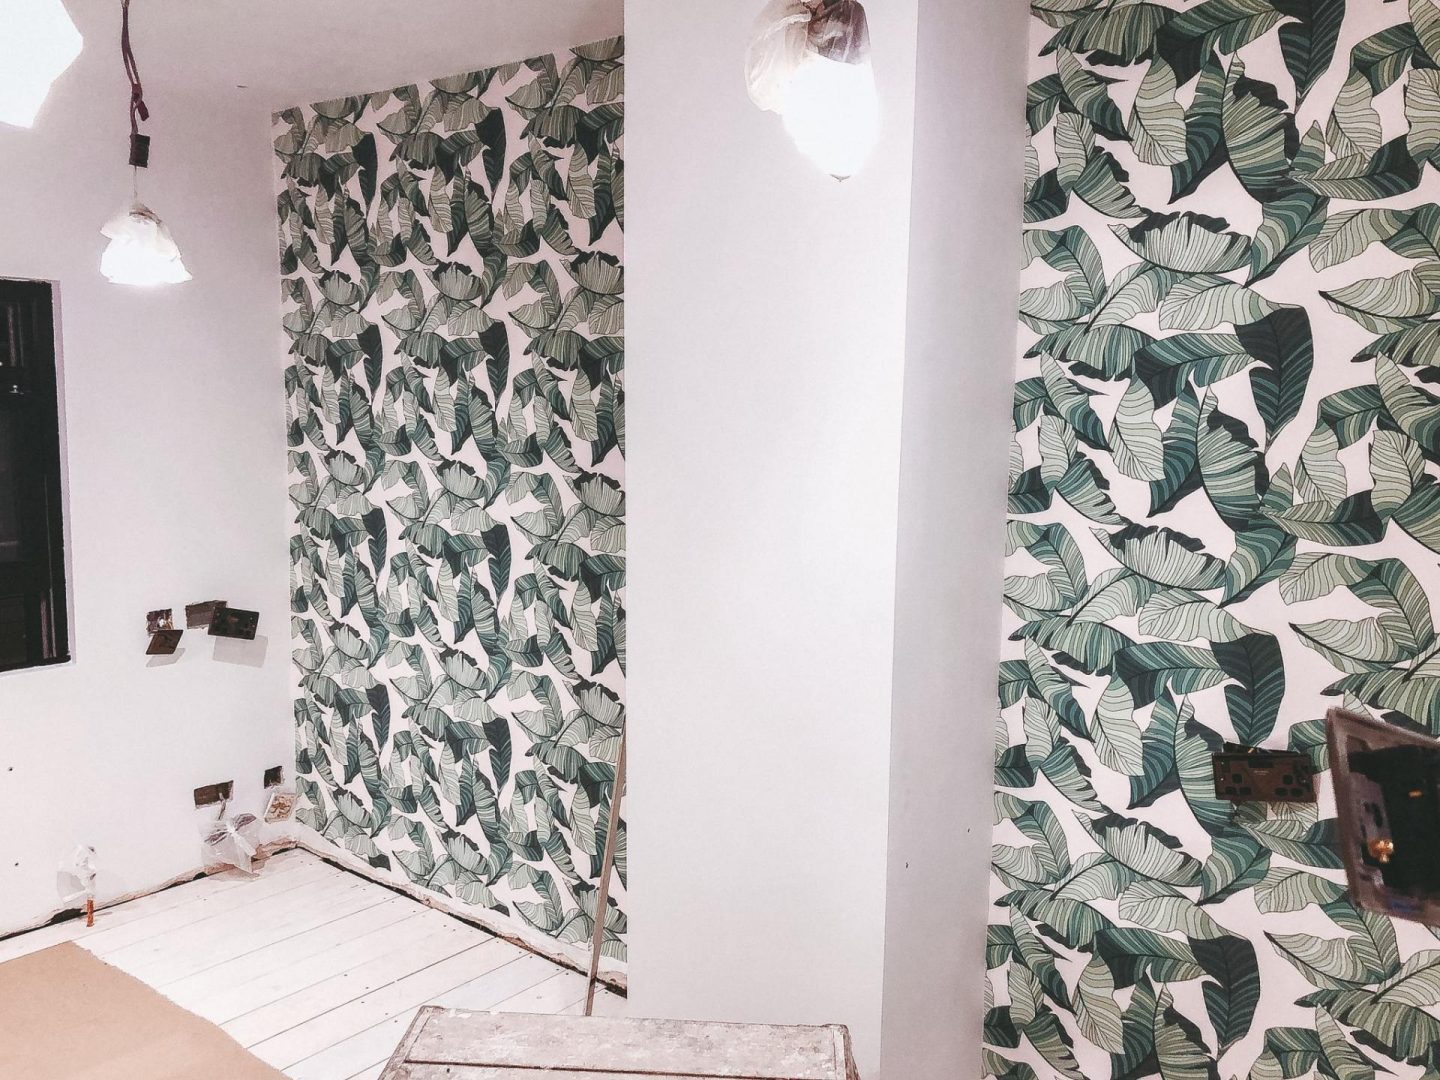
You should also consider cleaning the room, especially if you plan to wallpaper or add carpet, as you do not want any dust contaminating the area you want to decorate. Before putting anything on the walls, you should wipe it down and mop/hoover your floor, so you can start decorating on a clean slate.
Paint like a pro
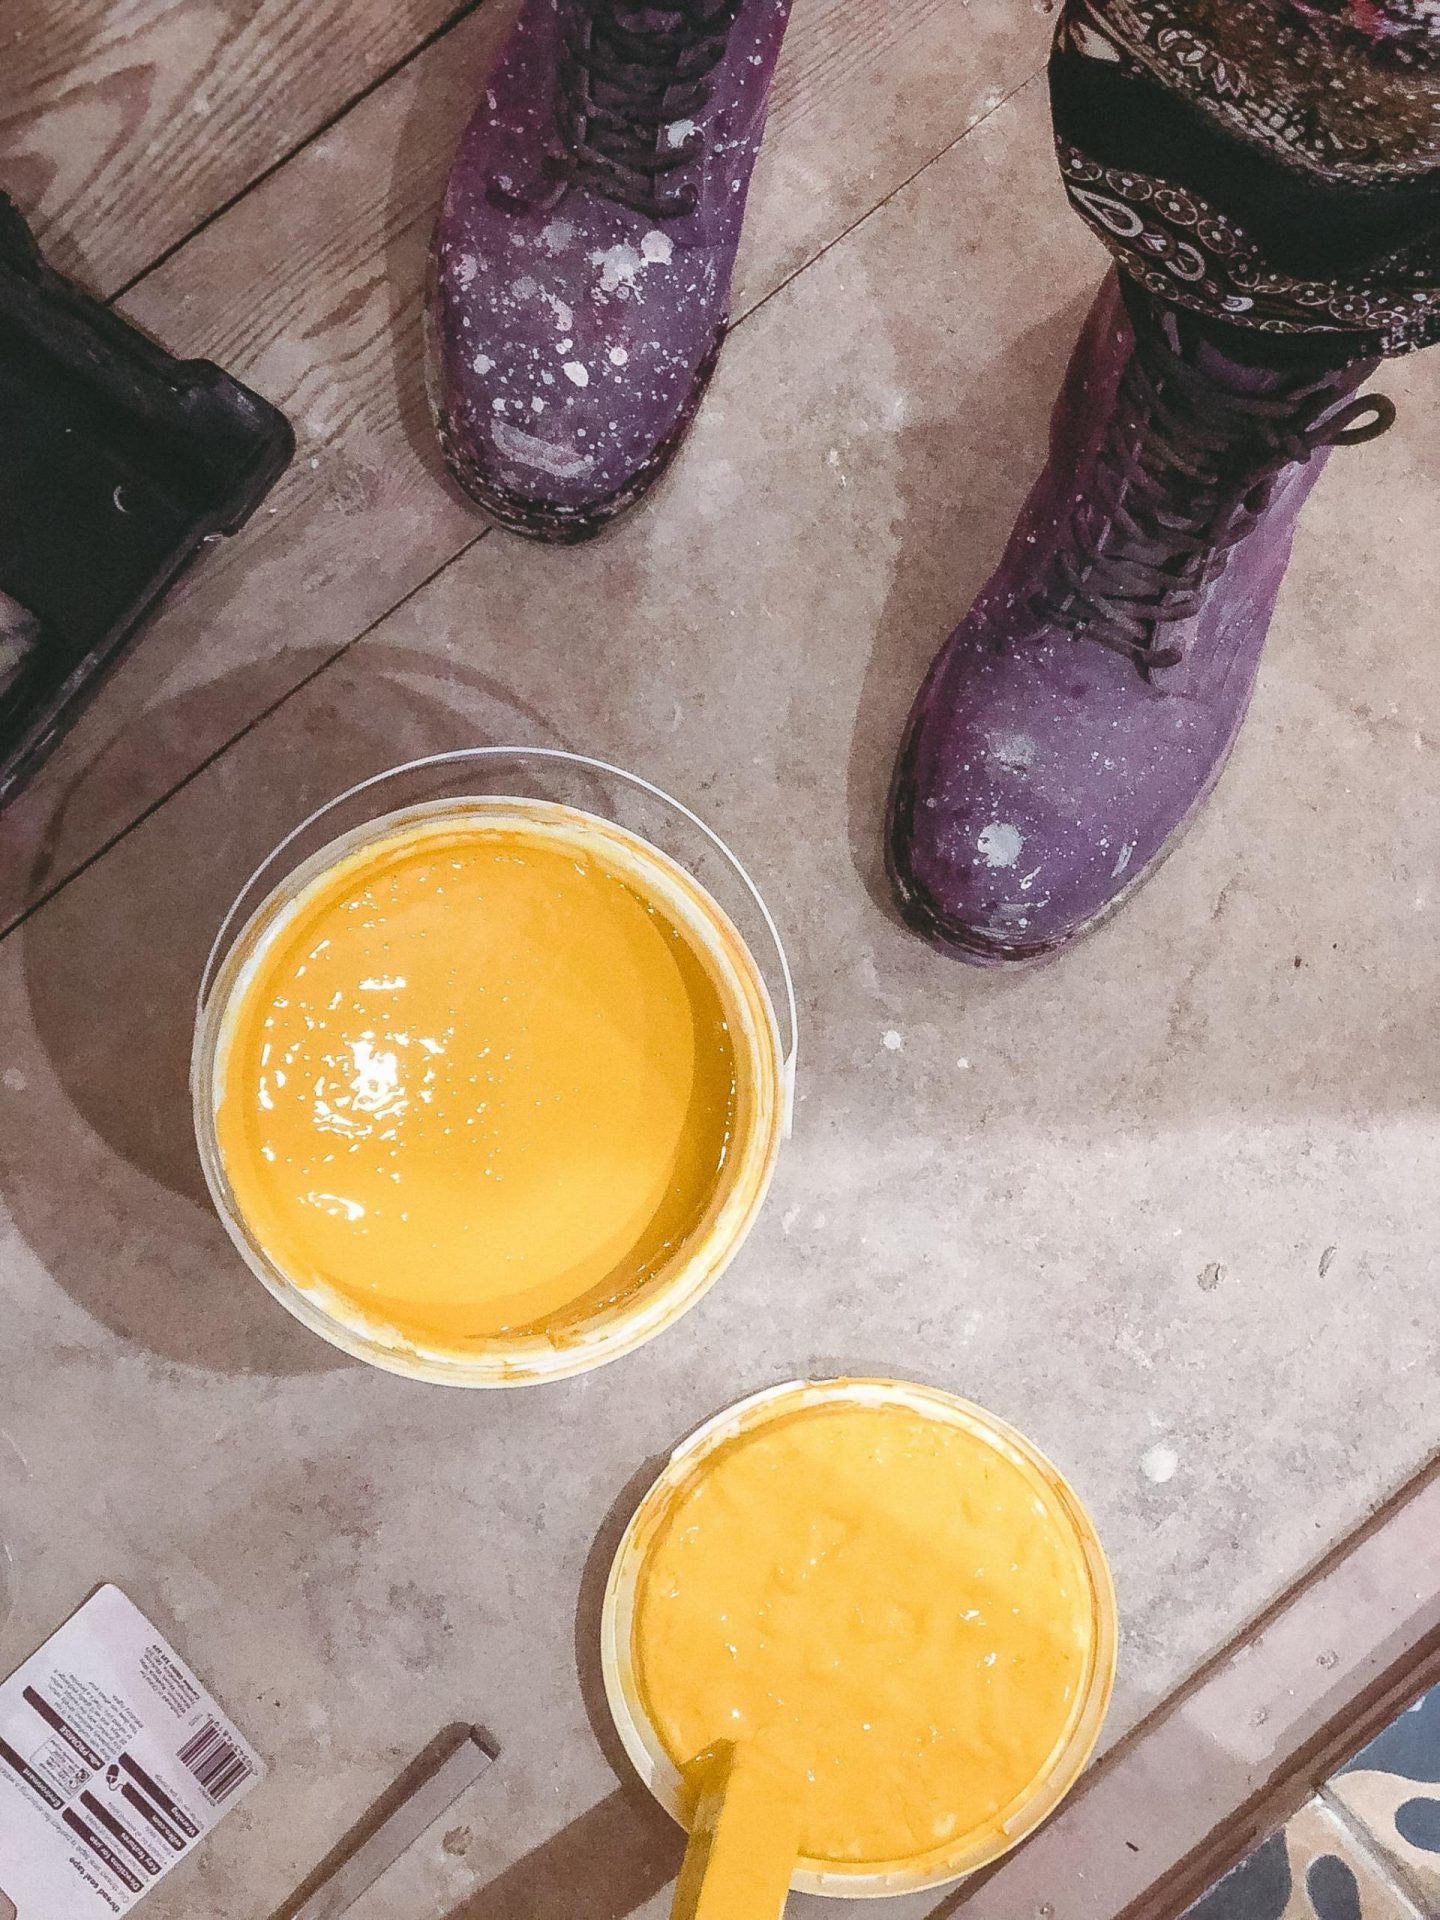
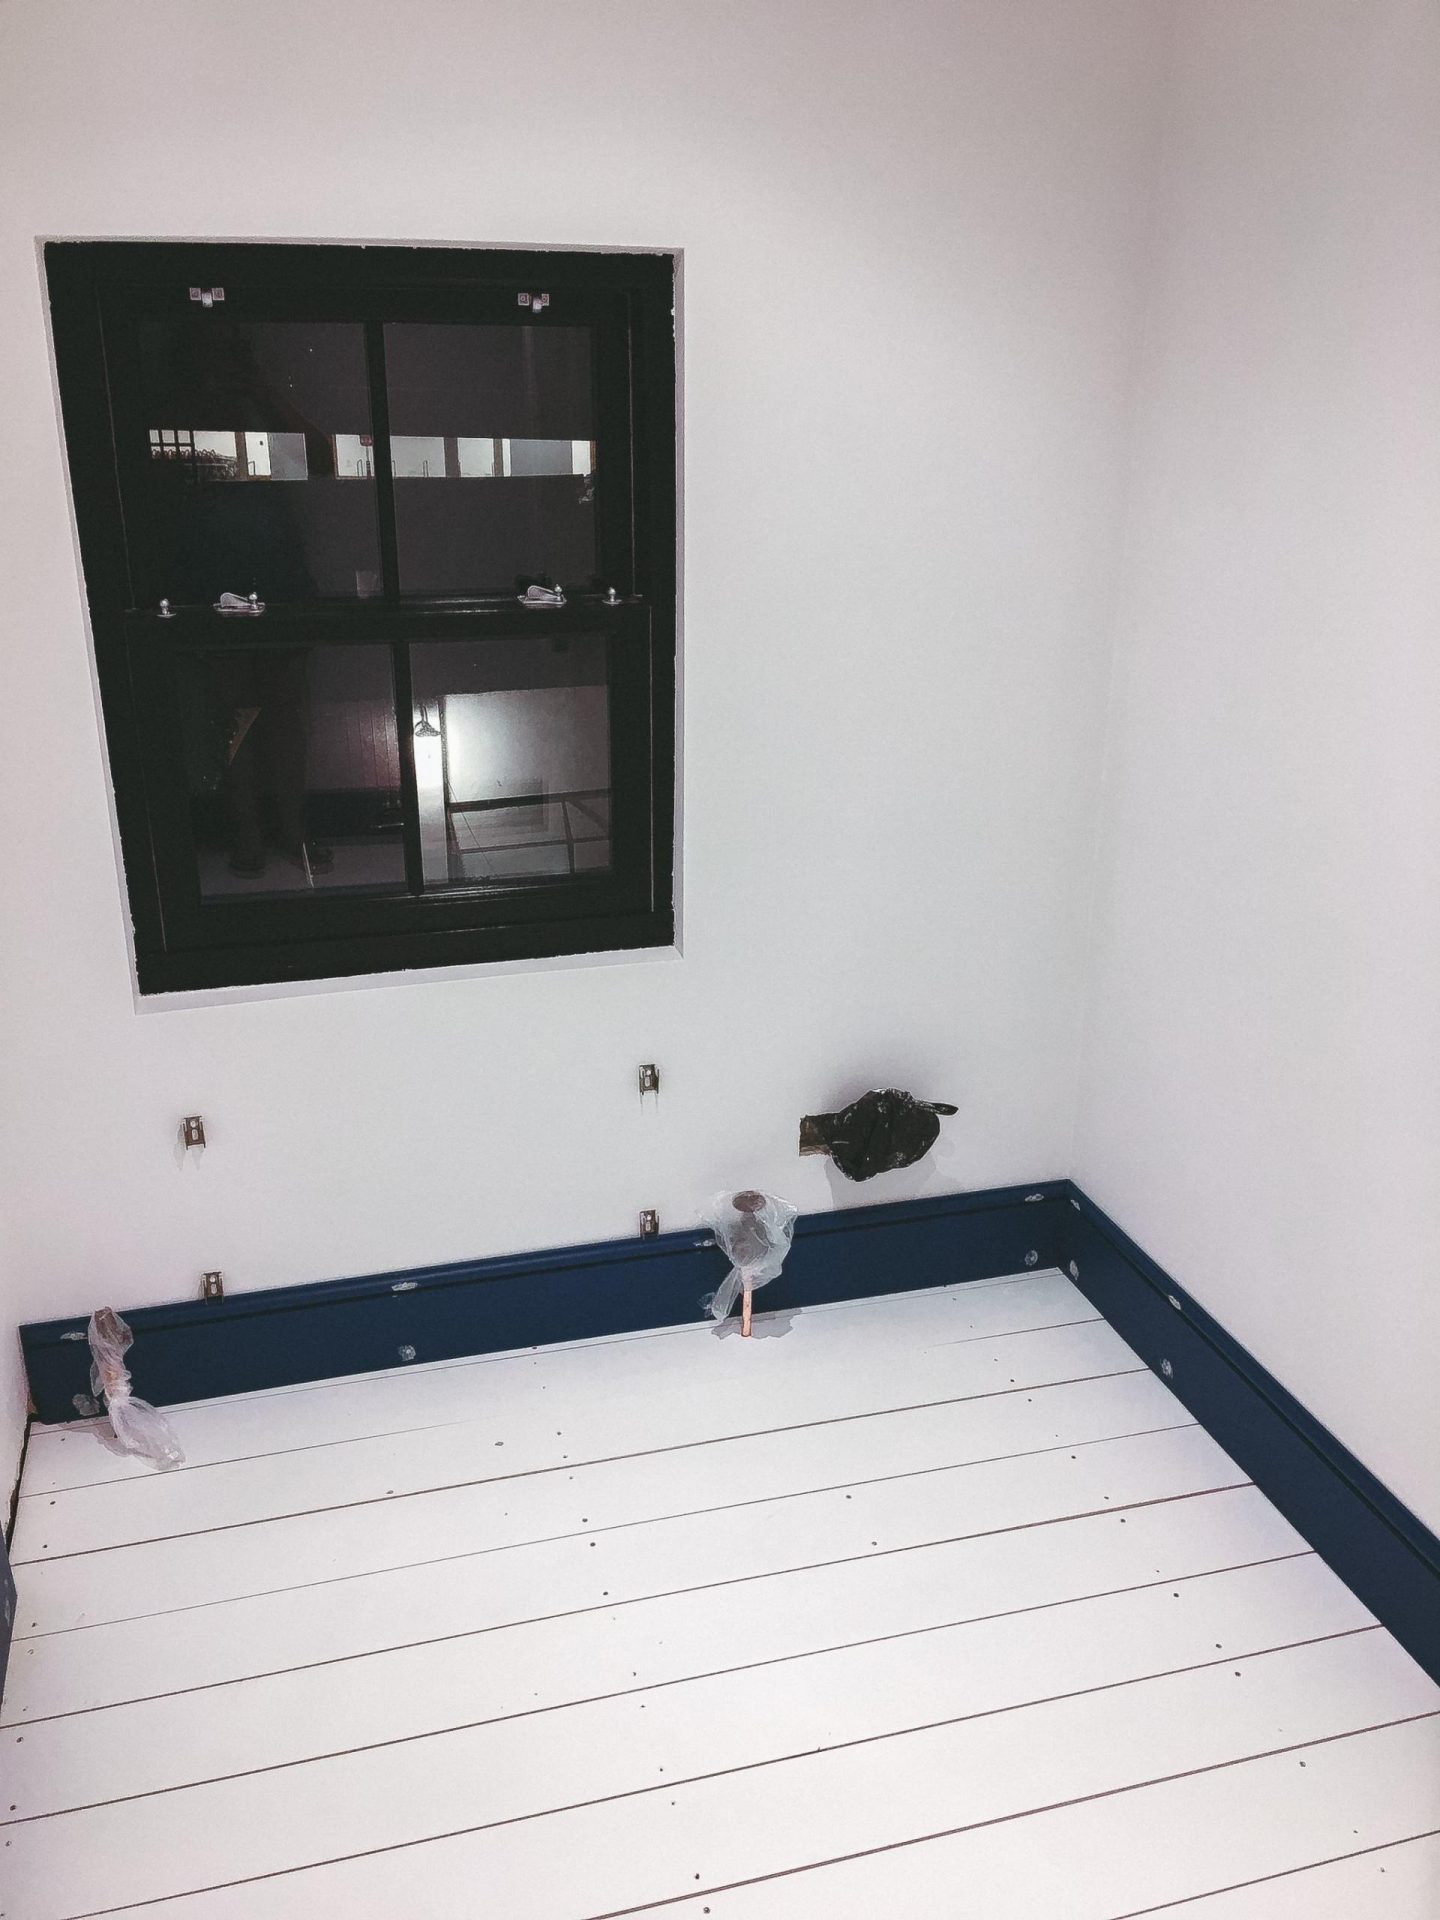
Once your room is prepared, you can then start to think about painting. While you may think it would make sense to start with the walls as they are the most important, professionals tend to begin with the wall trim. This is so that if you make any mistakes, such as if the trim paint smudges on the walls, you can always cover it up later.
To ensure that your walls are fully prepared, you should make use of a professional painters best-kept secret – liquid sandpaper. This product should be used after your final sandpapering to make sure the paint sticks properly, and your walls look great.
Maximise space
One of the many things professionals are great at is making use of space, especially in rooms like the kitchen, where space is a must. To decorate like a professional, you should take a look at your kitchen and establish where there is wasted space and how it can be used for a purpose.
You could also consider moving your furniture around to make more room and realign the layout. As long as none of your appliances are fitted to the wall, it will be easy for you to move things around and see what works where to make your room look more appealing.
For more DIY ideas and thoughts, follow the progress me and my husband are making on our house here.
This is a sponsored post with RW Invest.

